

Restoring Tesla multi-coat paint requires understanding its intricate layers and using specialized tools like polisers, waxes, and sandpaper. Start with workspace prep, protective gear, and meticulous inspection. Sand, clean, prime, then apply base and top coats for a seamless, factory-like finish, ensuring professional repair on Tesla vehicles.
Restoring your Tesla’s multi-coat paint to its factory finish can revive its sleek, vibrant look. This comprehensive guide breaks down the complex Tesla multi-coat paint system and provides a detailed step-by-step process for achieving professional results. Learn about essential tools, high-quality materials, and expert tips to successfully repair swirls, scratches, and fades, ensuring your Tesla shines like new again.
- Understanding Tesla Multi-Coat Paint System
- Tools and Materials for Repair Process
- Step-by-Step Guide to Restoring Factory Finish
Understanding Tesla Multi-Coat Paint System
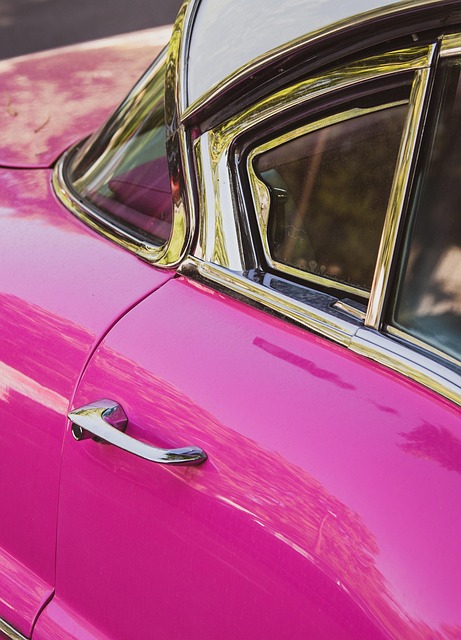
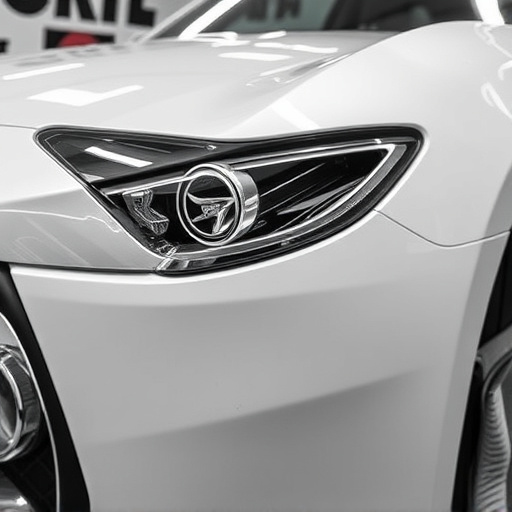
Tesla’s multi-coat paint system is a sophisticated process designed to achieve a durable and pristine finish on their vehicles. Unlike traditional single-coat paints, this system employs multiple layers of protective coating, each serving a specific purpose. The base coat provides color and protection, while subsequent coats enhance durability and resistance to chipping, scratches, and UV damage. This multi-layer design is what gives Tesla cars their signature glossy and smooth finish.
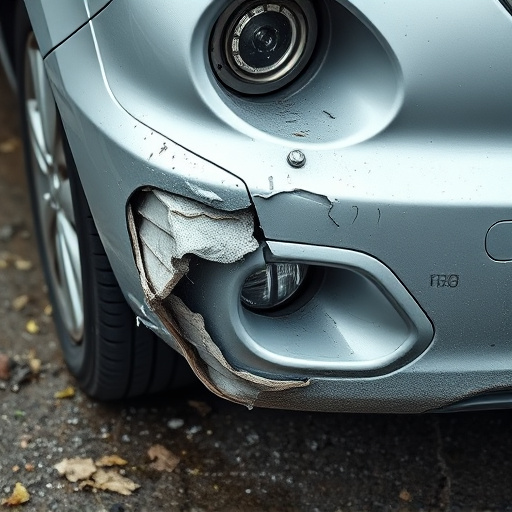
Understanding the intricate nature of this paint system is crucial when it comes to repairs, especially after a car collision repair or other forms of damage. Simply repairing a single layer may not suffice; the entire multi-coat structure must be carefully restored to match the factory finish. Skilled technicians employ specialized techniques and products to strip, prepare, and repaint, ensuring each coat is perfect before moving on to the next, resulting in a car restoration that virtually disappears the signs of previous damage.
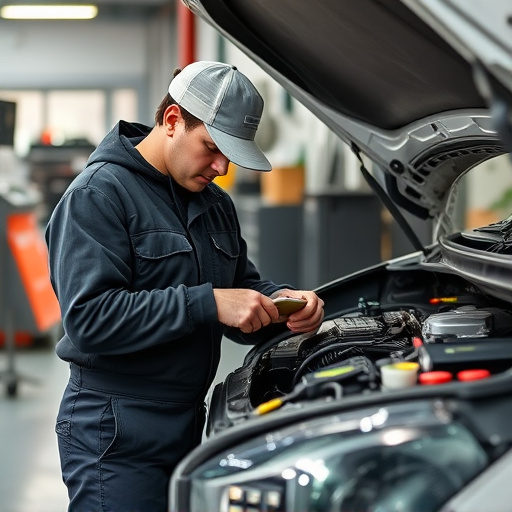
Tools and Materials for Repair Process
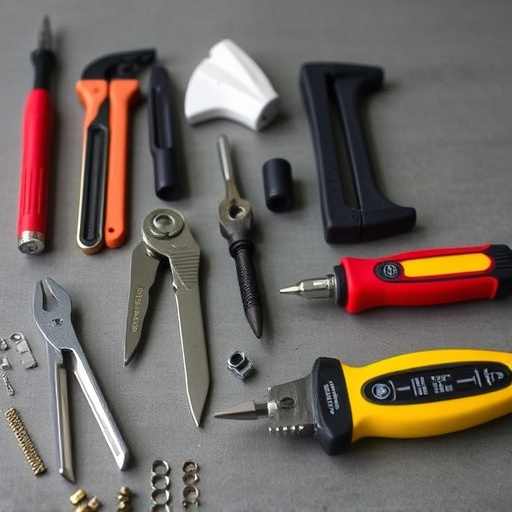
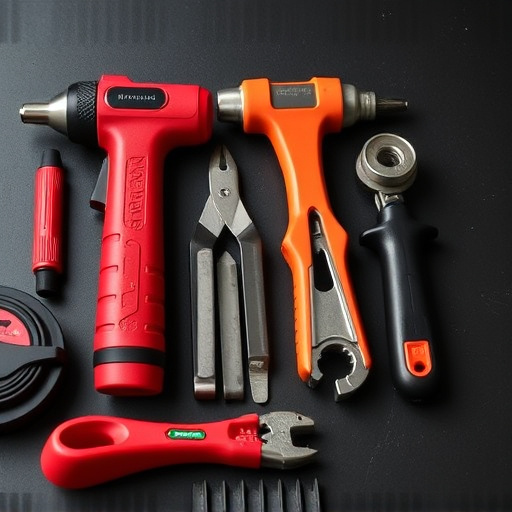
Restoring Tesla multi-coat paint to its factory finish requires a meticulous approach and the right tools. The process involves several key materials designed to match the precision and quality of Tesla’s original manufacturing standards. For efficient Tesla multi-coat paint repair, gather high-quality polishing compounds, waxes, and sealants that are specifically formulated for automotive restoration. These products will help buff out minor imperfections, protect the paint, and ensure a durable, glossy finish that mimics the vehicle’s original appearance.
Additionally, invest in professional-grade tools such as orbital polisers, foam pads, and microfiber cloths. These tools facilitate precise application of polishing compounds and meticulous removal of debris. A reliable automotive restoration kit should also include a variety of grit sandpaper, from coarse to fine, for removing paint scratches and achieving a smooth surface before applying the final coat. With these tools and materials in hand, you’ll be well-prepared to tackle hail damage repair or other minor dents, leaving your Tesla looking as good as new.
Step-by-Step Guide to Restoring Factory Finish
Restoring Tesla multi-coat paint to its factory finish requires careful attention and a systematic approach. Here’s a step-by-step guide for achieving that pristine look:
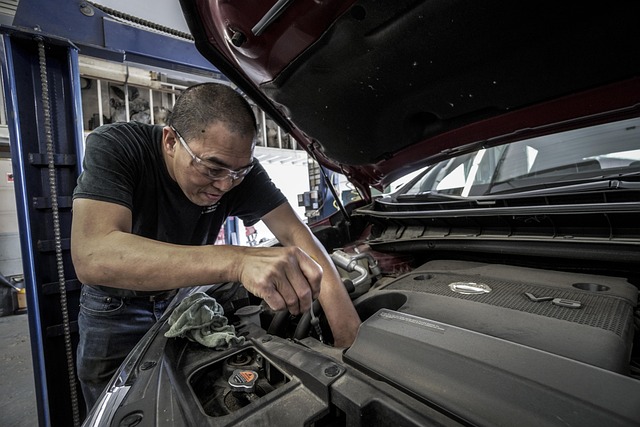
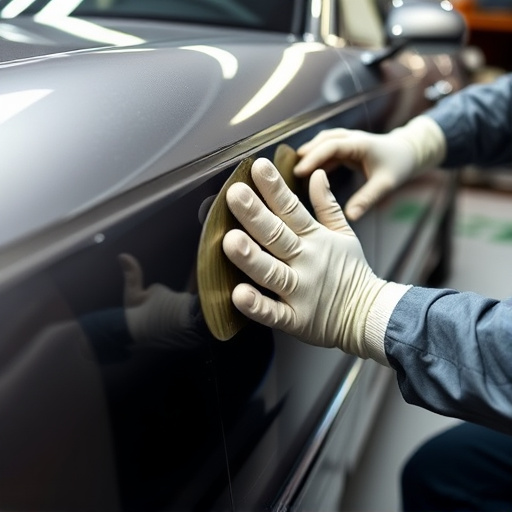
1. Safety First: Begin by ensuring your workspace is well-ventilated due to the nature of paints and solvents used. Put on protective gear, including gloves, goggles, and a respirator mask. This safety measure is crucial when handling chemicals and preventing inhalation or skin irritation.
2. Inspection and Preparation: Inspect the damaged area thoroughly. If there are deep scratches or dents, consider taking your Tesla to an auto collision center for professional car dent removal before proceeding. Clean the surface with mild soap and water, removing any dirt, dust, or debris. This preparation step is essential for achieving a smooth base before applying new paint.
3. Sand and Prime: Using 220-grit sandpaper, lightly sand the damaged area to smoothen it out. Start with gentle strokes, increasing pressure gradually as needed. After sanding, wipe away dust with a clean cloth. Apply an automotive primer designed for multi-coat paints. This step ensures better adhesion for the subsequent layers of paint and prepares your Tesla for the final restoration.
4. Apply Base Coat: Follow manufacturer guidelines to apply the base coat, typically using a spray gun or airbrush at a controlled distance (around 8–12 inches) from the surface. Ensure even coverage without drips or runs. Allow adequate time for drying, as instructed on the can.
5. Color Match and Top Coat: Mix the factory-matched color carefully to achieve an exact match. Apply the top coat, again following manufacturer instructions for drying times between coats. This meticulous process guarantees a seamless blend that mimics Tesla’s original finish.
Restoring your Tesla’s multi-coat paint to its factory finish is a rewarding DIY project that can significantly enhance your vehicle’s aesthetics. By understanding the unique multi-coat paint system, gathering the right tools and materials, and following a meticulous step-by-step guide, you can achieve professional-level results. With the right care and attention, your Tesla will not only look like new but also retain its value for years to come. For those passionate about maintaining their electric vehicle’s stunning exterior, this guide is an indispensable resource for achieving that pristine factory finish.