


Tesla multi-coat paint repair requires understanding its multi-layered structure of protective and resistant coats. Gather right tools like sandpaper, spray gun, dent kits, masks, and high-quality paints. Assess damage, clean area, sand gently, fill deep scratches, apply primer, then thin layers of paint with good ventilation for safety and long-lasting results.
“Unscratched, unmarred—that’s how you want your Tesla’s sleek exterior to remain. But accidents happen. Our guide helps you navigate the world of Tesla multi-coat paint repair. We’ll first demystify this sophisticated paint system, designed for durability and aesthetics. Then, we equip you with the essential tools needed for effective repair. Finally, a step-by-step process ensures you restore coated surfaces to their original condition, preserving your Tesla’s stunning finish.”
- Understanding Tesla Multi-Coat Paint System
- Essential Tools for Effective Repair
- Step-by-Step Guide to Restoring Coated Surfaces
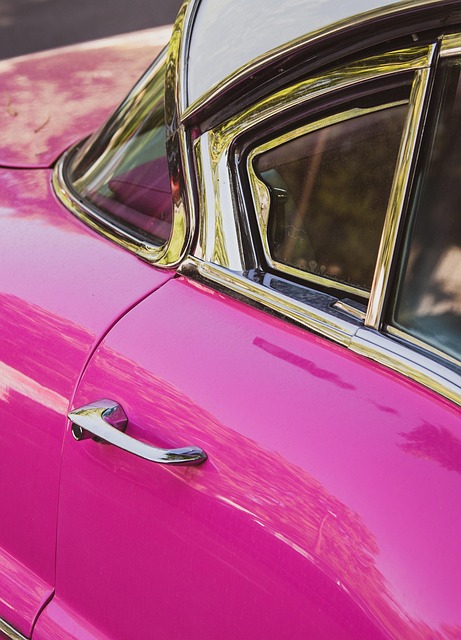
Understanding Tesla Multi-Coat Paint System
The Tesla multi-coat paint system is a complex and advanced finishing process designed to create a durable and aesthetically pleasing exterior for their vehicles. Unlike traditional single-layer paints, this system employs multiple coats of specialized coatings, each serving a unique purpose. The lower layers provide protection against corrosion and damage while the topcoats offer superior resistance to chips, scratches, and fading, ensuring the car retains its original appearance.
Understanding this multi-coat structure is crucial when considering Tesla multi-coat paint repair. When addressing car scratch repair or automotive repair in general, it’s important to recognize that each layer may need separate attention. For instance, while a minor scratch might only affect the topcoat, more severe damage could extend deeper, requiring not just surface repairs but also protection of the underlying layers to ensure long-lasting results.
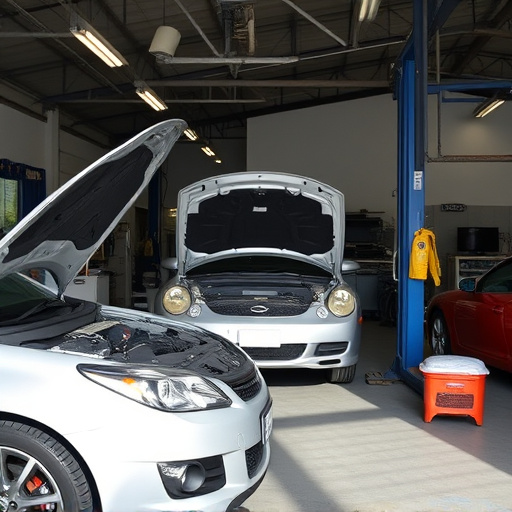
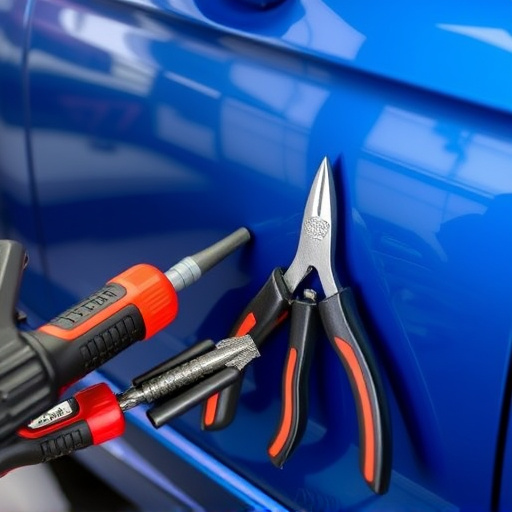
Essential Tools for Effective Repair
When tackling a Tesla multi-coat paint repair, having the right tools is crucial for achieving a flawless finish. The foundation lies in acquiring a set of high-quality sandpaper varieties, ranging from coarse to fine grits. These are essential for smoothing out imperfections and preparing the surface before painting. Additionally, a good paint applicator, such as a spray gun or roller, is key to applying an even coat without bubbles or streaks.
For more intricate repairs like paintless dent repair or scratch repair, consider investing in specialized tools. These might include dent removal picks and pullers for minor dents and scratches, ensuring a professional-level finish. Moreover, tire services equipment can also be beneficial, as proper wheel alignment is vital to maintaining the integrity of the paint job.
Step-by-Step Guide to Restoring Coated Surfaces
Restoring coated surfaces, such as those found on a Tesla or any vehicle, involves a meticulous process that can bring damaged multi-coat paint back to life. Here’s a step-by-step guide for achieving top-notch results in your Tesla multi-coat paint repair:
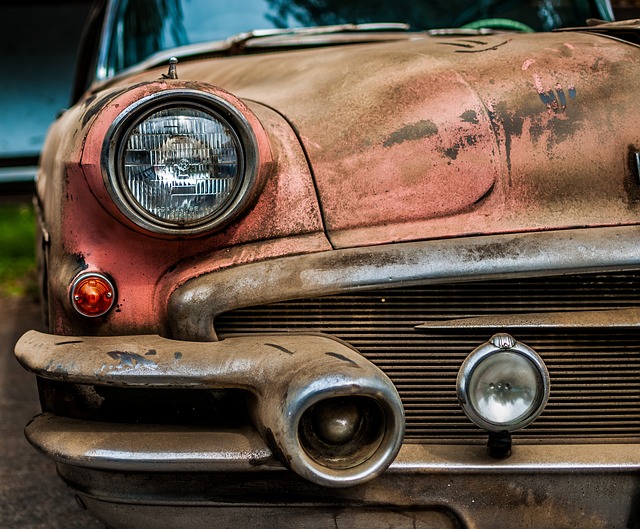
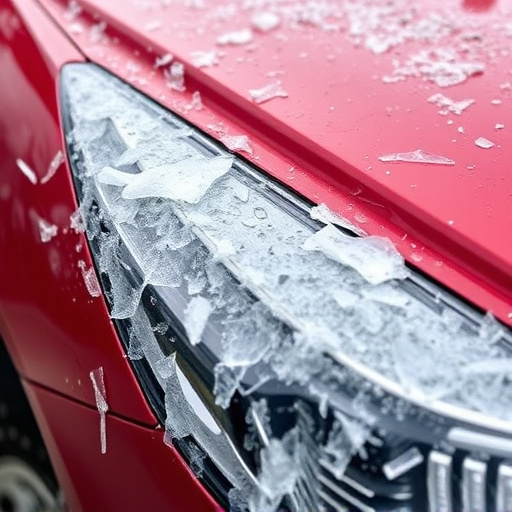
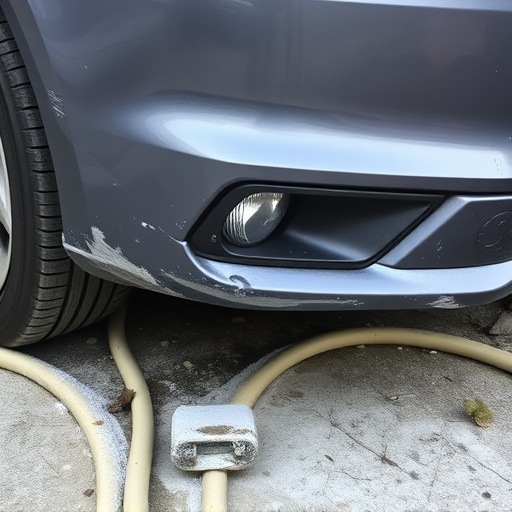
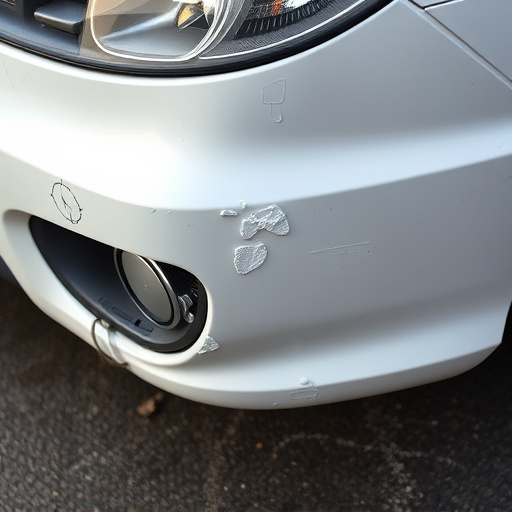
1. Assess the Damage: Begin by examining the extent of the damage. Identify chips, scratches, or dents and take note of their size and depth. This initial step is crucial as it determines the scope of the repair process. For minor dents and scratches, you might opt for a simple dent repair service, while more severe damage may require extensive body shop services.
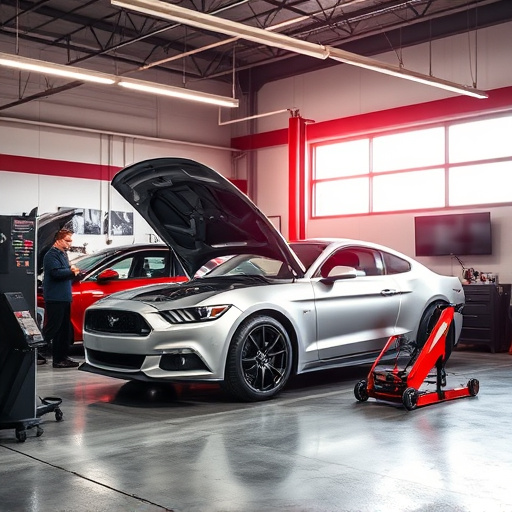
2. Gather Your Tools: Assemble all necessary tools specific to auto body repairs. This includes sandpaper in various grits, paint brushes, applicators, and masks for protection. Ensure your workspace is well-ventilated as some products can emit strong fumes.
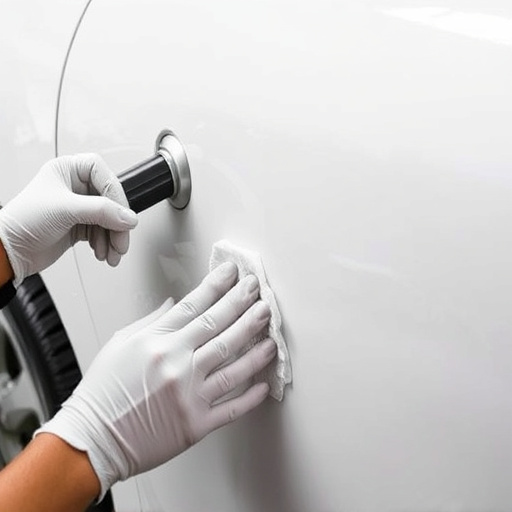
3. Prepare the Surface: Clean the damaged area thoroughly to remove any dirt or debris. Use a dedicated cleaner designed for car surfaces. Once clean, dry the area completely. This step guarantees that the repair products adhere properly.
4. Sand and Smooth: Using fine-grit sandpaper, gently sand the surface until it is smooth and free of imperfections. Take care not to over-sand, as this might remove more material than necessary. After sanding, wipe down the area again to ensure all dust is removed.
5. Apply Filler (if needed): For deeper dents or scratches, inject a suitable auto body filler into the damaged area. Allow it to set and then sand until smooth, matching the surrounding surface.
6. Prime and Paint: Apply an appropriate primer that matches your Tesla’s original color. This step ensures better paint adhesion. Follow with the multi-coat paint application, using high-quality products designed for cars. Work in thin layers, allowing each coat to dry before adding the next.
When it comes to Tesla multi-coat paint repair, understanding your vehicle’s unique system and arming yourself with the right tools are key. By following a meticulous step-by-step guide, you can masterfully restore coated surfaces, achieving a flawless finish that enhances your car’s allure. Embrace these strategies for effective Tesla multi-coat paint repair, ensuring your vehicle retains its vibrant and protective exterior.