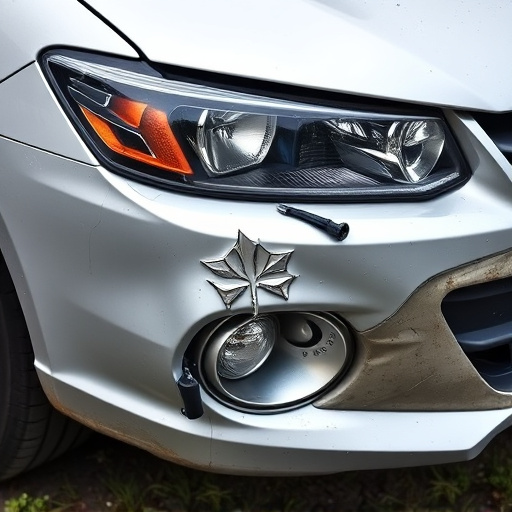

Tesla multi-coat paint repair involves a meticulous process: gather tools like sandpaper and automotive paint; prepare damaged area by degreasing, sanding, removing old paint; apply primer for seamless blending with Tesla-specific paints; blend using fine-grit sandpaper and clear coat; inspect, assess damage for precise repair. Trust a classic car restoration shop for expert matching of unique multi-layer system, achieving flawless results that restore vehicle to like-new condition.
Looking to perfect your Tesla’s sleek finish? Mastering the art of blending Tesla multi-coat paint is essential for any DIY enthusiast or professional. This comprehensive guide delves into the intricate system of Tesla’s multi-coat paint, providing a step-by-step approach to flawless repairs. From understanding the paint composition to securing the right tools and materials, you’ll learn techniques to seamlessly match and blend, ensuring your Tesla’s exterior gleams like new.
- Understanding Tesla Multi-Coat Paint System
- Tools and Materials Needed for Repair
- Step-by-Step Guide to Blending Flawlessly
Understanding Tesla Multi-Coat Paint System

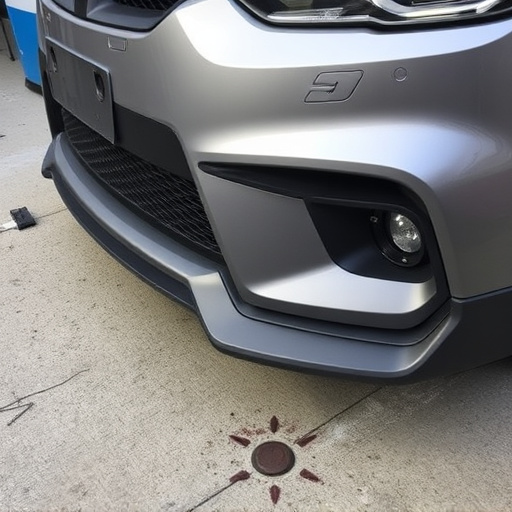
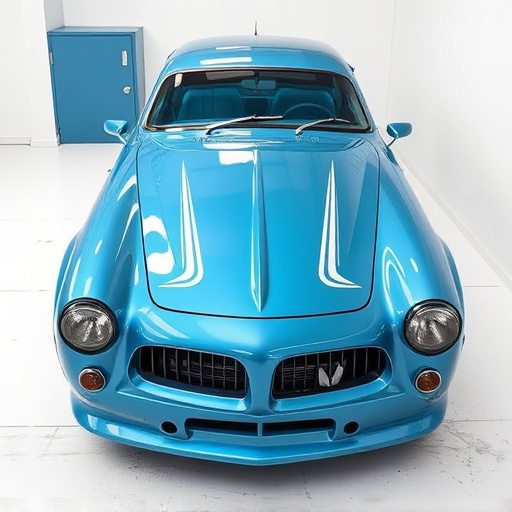
Tesla’s multi-coat paint system is a sophisticated process designed to create a durable and visually stunning finish. Unlike traditional single-coat paints, this system involves several layers of different coatings, each serving a specific purpose. The lower coats provide a solid base, while subsequent layers add depth, clarity, and protection. This intricate design not only enhances the car’s aesthetics but also prolongs its lifespan against chips, scratches, and fading.
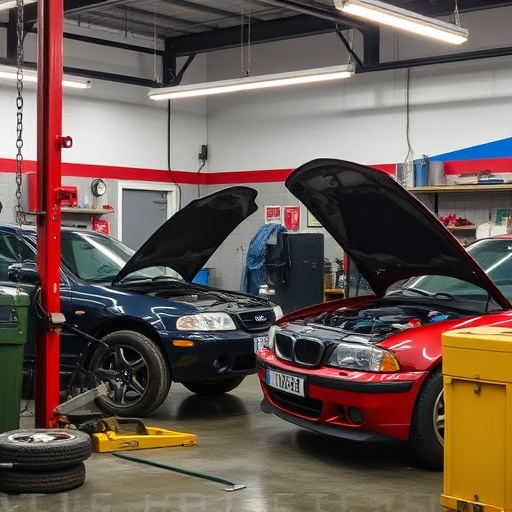
Understanding this multi-layer approach is crucial for anyone looking into Tesla multi-coat paint repair. When damage occurs, whether from minor bumps or more significant incidents, addressing it promptly with specialized car paint services becomes essential. A reputable car repair shop equipped to handle classic car restoration will be able to expertly match the original multi-coat system, ensuring the restored vehicle retains its flawless and distinctive finish.
Tools and Materials Needed for Repair

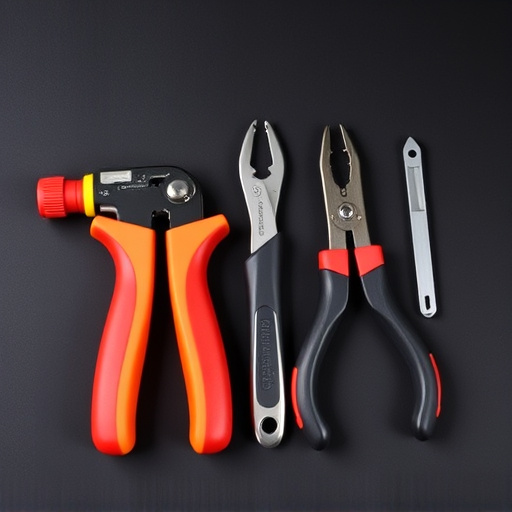
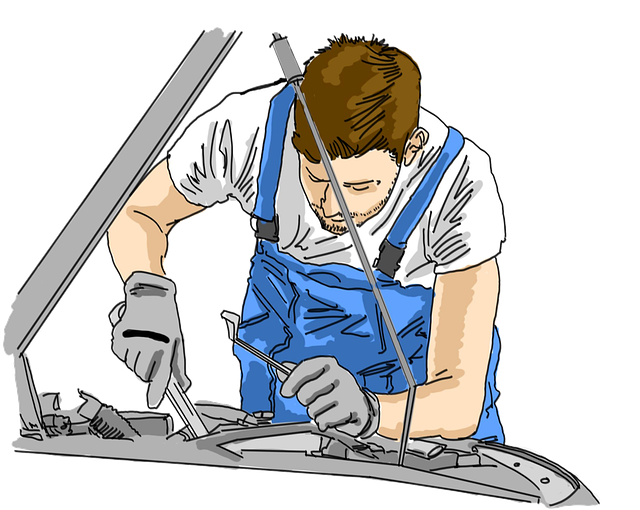
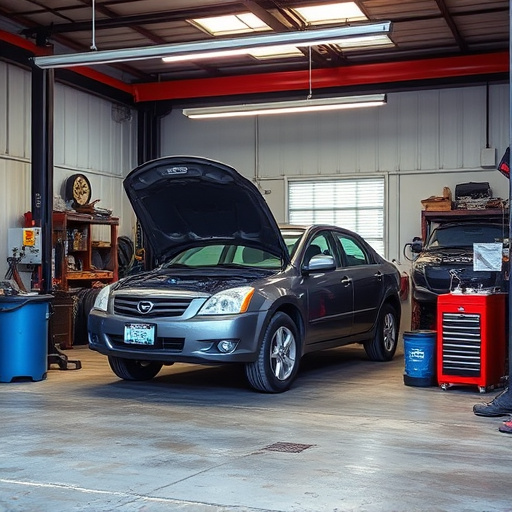
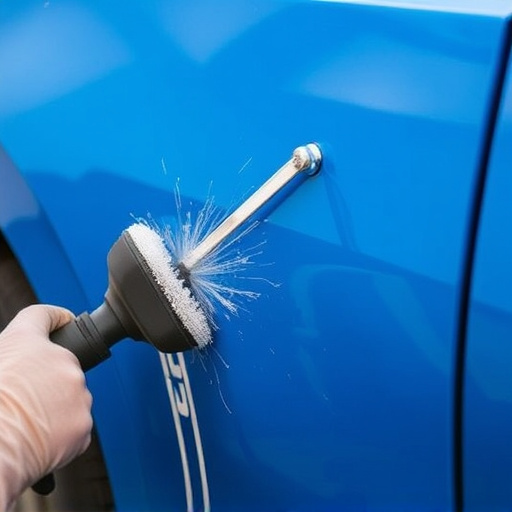
Before tackling a Tesla multi-coat paint repair, ensure you have the right tools and materials at hand. This includes sandpaper (grits ranging from 400 to 2000), automotive paint and primer, applicator guns, masks, gloves, and safety goggles. Additionally, consider having a heat gun for curing the paint and a pressure washer to thoroughly clean the damaged area. For a seamless blend, opt for high-quality Tesla-specific multi-coat paints that match your vehicle’s original finish.
Proper preparation is key in achieving flawless results. Start by degreasing and sanding the affected surface, removing any debris or old paint. Mask adjacent areas not requiring repair and apply an even coat of primer to ensure better adhesion. With the right tools and meticulous attention to detail, you’ll be well on your way to completing a successful Tesla multi-coat paint repair, bringing your vehicle back to its like-new condition—a testament to your skills in automotive restoration.
Step-by-Step Guide to Blending Flawlessly

Blending Tesla multi-coat paint seamlessly is an art that requires precision and a systematic approach. Here’s a step-by-step guide to help you achieve flawless results, just like a professional automotive body shop expert:
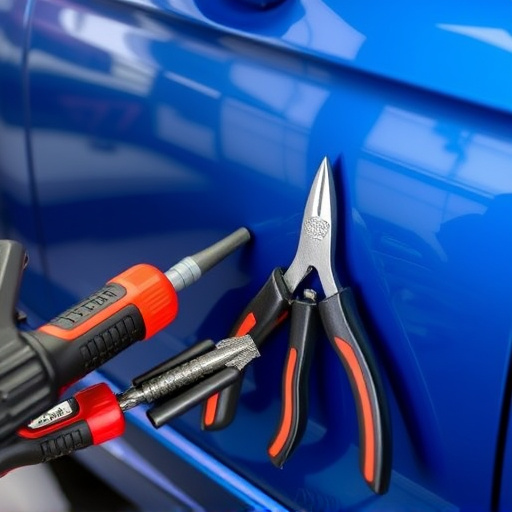
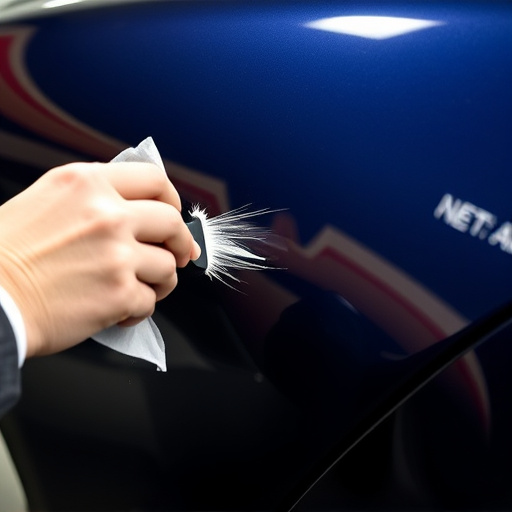
1. Prepare Your Workspace: Ensure your work area is well-lit and clean. Gather all necessary tools, including high-quality sandpaper (grit 400-600), a smooth cloth, and a small container of clear coat. Protect the surrounding with drop cloths to avoid any mess.
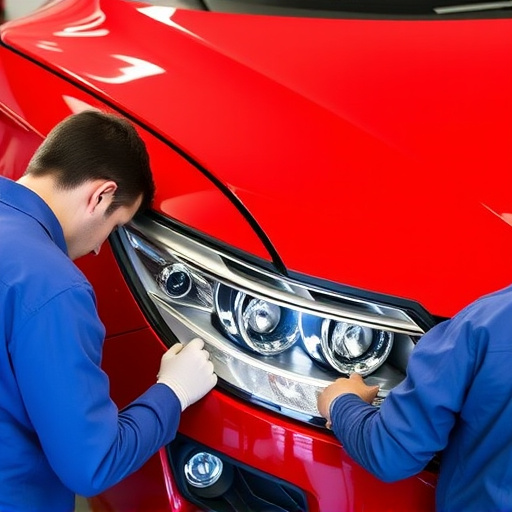
2. Inspect and Assess: Closely examine the damaged area and the surrounding paintwork. Identify the extent of the repair needed, whether it’s a small chip or a larger dent. This step is crucial as it determines your blending technique and the amount of material required for Tesla multi-coat paint repair.
3. Smoothen the Surface: Lightly sand the damaged area using the fine-grit sandpaper to create a smooth surface. Remove any debris, dust, or remnants of old paint. This process ensures a clean canvas for your repair work and facilitates better adhesion of new paint layers.
4. Apply Filler (if needed): If there’s a dent or depression, use an automotive body shop-grade filler to even out the surface. Carefully apply it with a putty knife, following the manufacturer’s instructions. Allow it to dry completely before proceeding.
5. Sand Again: Once filled, lightly sand the area again to ensure a seamless blend with the existing paint. This fine sanding prepares the surface for the next critical step—priming.
Blending Tesla multi-coat paint flawlessly is a skill that combines precision, patience, and the right tools. By understanding the unique multi-coat system and using specialized materials, you can effectively repair and match the vehicle’s original finish. With the right approach, as outlined in this guide, you’ll be able to achieve professional-level results, ensuring your Tesla retains its sleek and distinctive appearance. Remember, practice makes perfect, so don’t hesitate to refine your skills for optimal outcomes.