
Tesla's multi-coat paint system comprises base, color, clear, and protective coats. Repairs should focus on preserving this intricate system, saving costs and minimizing environmental impact compared to repainting. Crucial tools include fine-grit sandpaper, a high-quality paint gun, and specialized restoration kits. The repair process involves thorough inspection, surface preparation (cleaning, sanding), scratch and dent repairs with body filler, priming, and matching paint application to blend seamlessly with existing Tesla color.
Discover the art of restoring your Tesla’s exterior without a full repaint. The multi-coat paint system on Teslas is renowned for its durability, but scratches and dents can still occur. Learn how to expertly repair these issues using specialized tools and techniques tailored for this unique paint structure. This comprehensive guide breaks down the process step-by-step, ensuring your Tesla maintains its vibrant, original finish.
- Understanding Tesla Multi-Coat Paint System
- Tools and Materials for Repair Process
- Step-by-Step Guide to Effective Repair Techniques
Understanding Tesla Multi-Coat Paint System
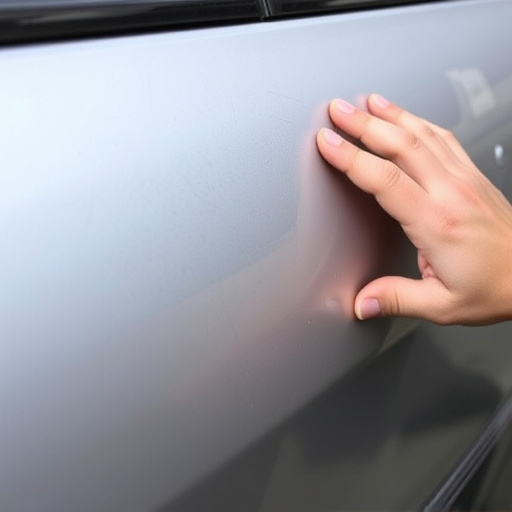
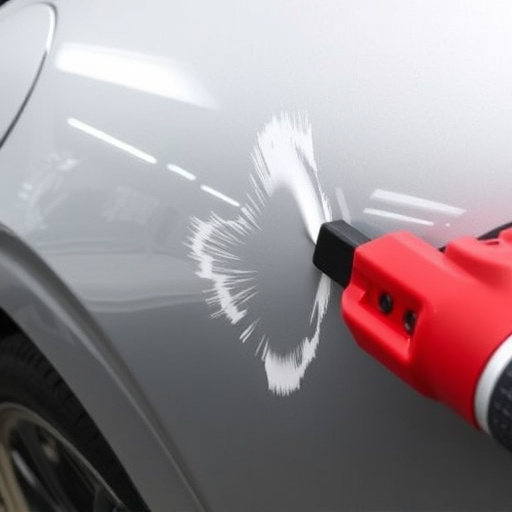
Tesla’s multi-coat paint system is renowned for its durability and vibrant finishes. Comprising several layers, this advanced technology includes a base coat, color coat, clear coat, and sometimes even protective top coats. Each layer serves a unique purpose, enhancing the car’s aesthetics and protection against environmental factors. The base coat provides a solid foundation, while the color coat delivers the desired color and finish. The clear coat acts as a protective barrier, shielding the paint from scratches, chips, and UV damage. Understanding this multi-layer structure is crucial when addressing paint repairs, especially without resorting to full repainting.
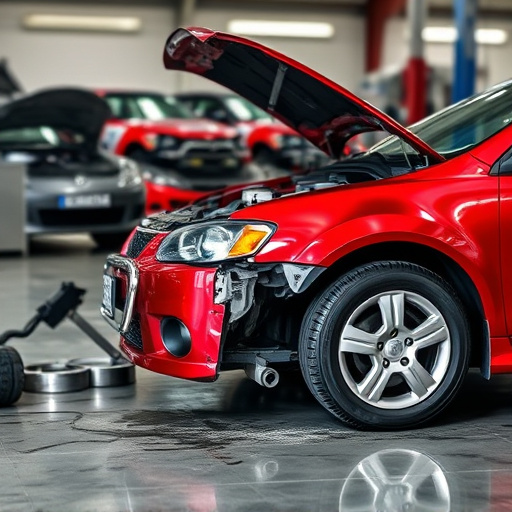
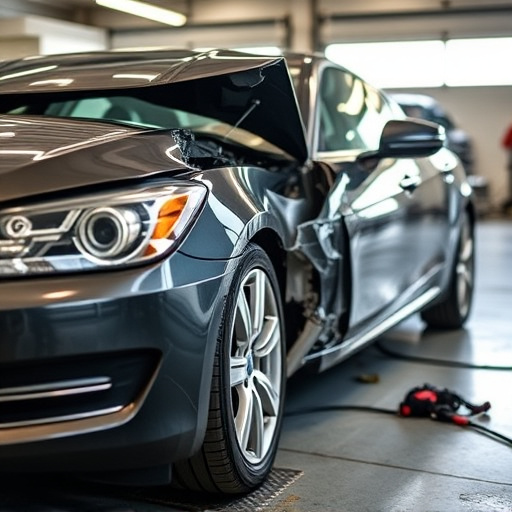
Autobody repairs for Tesla vehicles should focus on preserving this intricate system whenever possible. Skilled auto repair services or body shop services can expertly assess and fix minor damages like scratches, dents, or swirls in the clear coat, maintaining the integrity of the multi-coat paint job. By repairing rather than repainting, car owners can preserve the original finish, save costs, and reduce the environmental impact associated with traditional repainting processes.
Tools and Materials for Repair Process
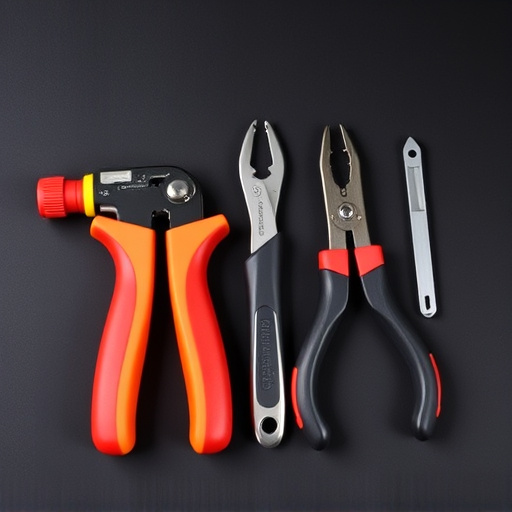
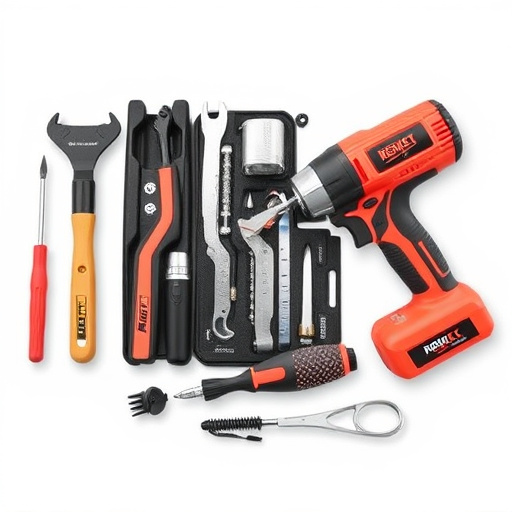
For a successful Tesla multi-coat paint repair, the right tools and materials are essential. This process requires specific equipment designed for delicate paint work to ensure minimal impact on the surrounding areas. Key items include fine-grit sandpaper, suitable for multiple coat layers without damaging the base material, and a high-quality paint gun with adjustable settings to match Tesla’s original finish precisely.
Additionally, a range of multi-coat paints that perfectly match Tesla’s color palette is vital. Many body shop services offer specialized car body restoration kits, which include everything needed for this type of repair. These kits often contain various pigment levels and base coats to achieve a seamless, professional finish, restoring your vehicle to its original condition without the need for full repainting.
Step-by-Step Guide to Effective Repair Techniques
Repairs to Tesla’s multi-coat paintwork can be a delicate process, but with the right techniques, it’s possible to restore your car to its former gloss without the need for a full repaint. Here’s a step-by-step guide to achieving effective Tesla multi-coat paint repair:
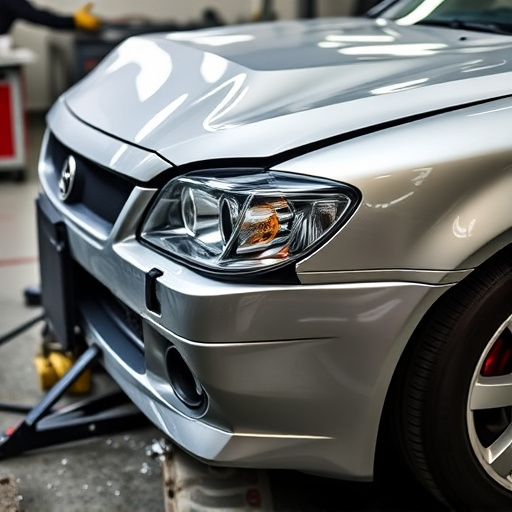
1. Inspect and Assess: Begin by thoroughly examining the damaged area. Identify the type and extent of the damage – whether it’s a small scratch, a dent, or a more significant chip. For car dent repair, use a dent puller tool to gently remove the indentation if feasible. In cases of deeper scratch repair, take note of the paint layers affected.
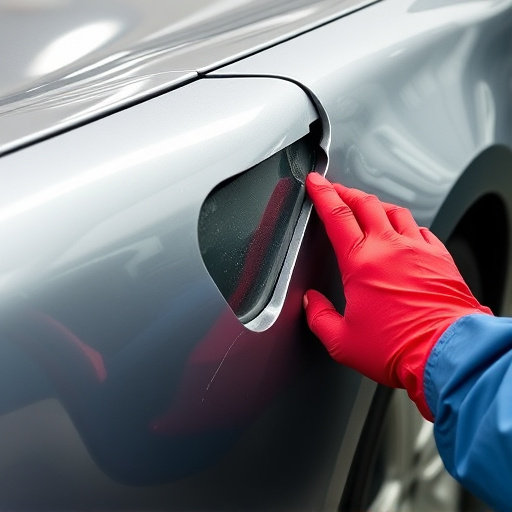
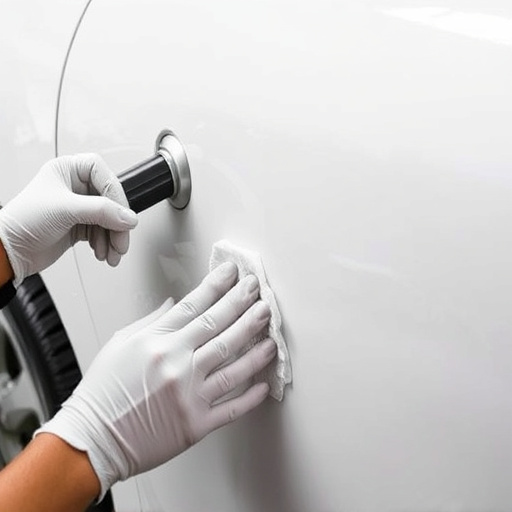
2. Prepare the Surface: Clean the damaged area and its surroundings with automotive-grade soap and water, ensuring no dust or contaminants remain. Dry the surface completely before proceeding. For car body restoration, this meticulous preparation is crucial to achieving a professional finish.
3. Sand and Profile: Using fine-grit sandpaper (starting with 400 and progressing to finer grades), gently sand the damaged area until the paint and base coat are exposed. Be careful not to over-sand, as this can remove more material than necessary. The goal is to create a smooth surface for filling.
4. Fill and Level: Apply automotive body filler to the damaged area, working in thin layers. Allow each layer to dry before applying the next, ensuring the filler is level with the surrounding paintwork. This meticulous process addresses scratch repair and fills minor dents, restoring the car’s surface to its original contour.
5. Sand Again: Once the filler has fully cured, lightly sand the repaired area again to ensure a smooth base for painting. Remove any residual filler or sanding marks with progressively finer sandpaper.
6. Prime and Paint: Apply an appropriate primer to the repaired area, allowing it to dry thoroughly. Then, use a high-quality automotive paint that matches your Tesla’s color. Paint in thin, even coats, allowing each coat to cure as per the manufacturer’s instructions. This meticulous process ensures a seamless blend with the existing paintwork.
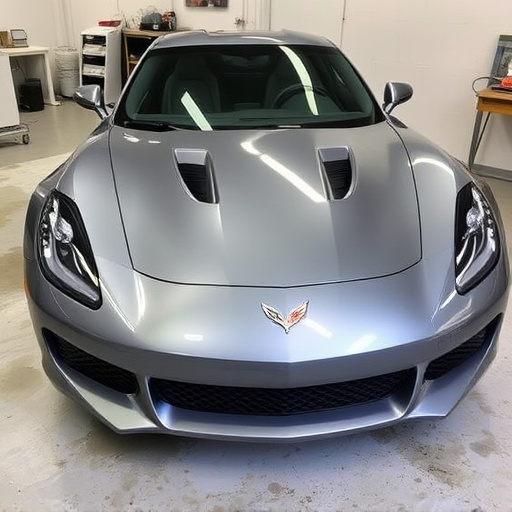
Tesla’s multi-coat paint system offers a durable and protective finish, but minor damages can be repaired without full repainting. By understanding the multi-layer structure and using the right tools and materials, you can effectively restore your Tesla’s exterior to its original condition. Following the step-by-step guide ensures precise repairs, preserving the car’s aesthetic appeal and value. With a bit of knowledge and effort, Tesla owners can now conveniently address small paint issues, maintaining their vehicle’s stunning appearance.