


Tesla's multi-coat paint system offers superior durability against wear and environmental damage through layers of base, color, clear, and sometimes undercoats. For minor collisions, specific tools and materials like restoration kits, sandpaper, and touch-up paint ensure precise repairs minimizing impact on intact areas. This guide covers assessing damage, surface prep, applying primer and matching multi-coat paint for seamless, efficient Tesla multi-coat paint repair without full repainting.
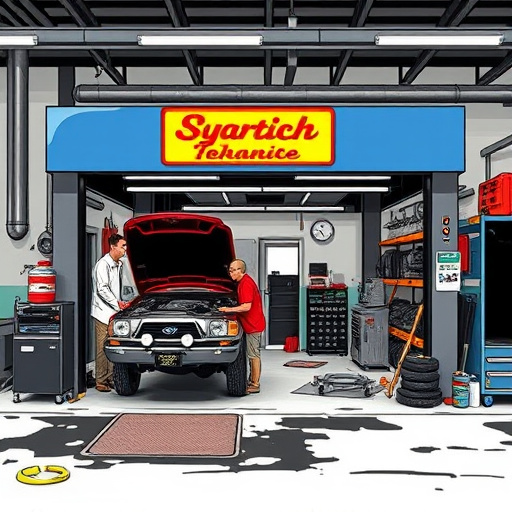
Discover the secrets to mastering Tesla multi-coat paint repair without the need for a full repaint. This comprehensive guide delves into the unique structure of Tesla’s protective coating, equipping you with the knowledge to fix minor scratches and dents efficiently. Learn about the essential tools and materials required, then follow our step-by-step approach for optimal results. Revive your Tesla’s sleek finish and save time and money in the process.
- Understanding Tesla Multi-Coat Paint System
- Tools and Materials for Repair
- Step-by-Step Guide to Effective Paint Repair
Understanding Tesla Multi-Coat Paint System
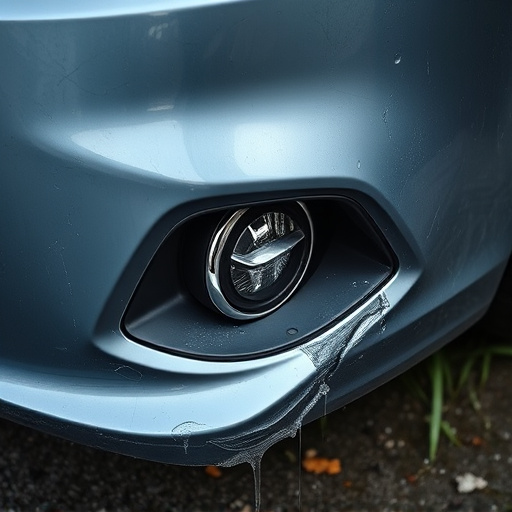
Tesla’s multi-coat paint system is renowned for its durability and sleek finish, designed to withstand the rigors of daily driving and protect against scratches, chips, and fading. Comprising several layers, this sophisticated system includes a base coat, color coat, clear coat, and often, protective undercoats. Each layer serves a unique purpose: the base coat provides a solid foundation, the color coat delivers the desired shade, while the clear coat acts as a barrier against environmental damage. This intricate design not only enhances the car’s aesthetics but also prolongs its overall lifespan.
When considering Tesla multi-coat paint repair after a fender bender or minor collision, understanding this structure is key. Unlike traditional repainting, which replaces the entire top layer, repair techniques focus on restoring specific damaged areas. Auto glass replacement, while not directly related to paint repair, plays a crucial role in ensuring safety and maintaining the vehicle’s overall condition. Skilled technicians use specialized tools and matching multi-coat paints to blend repairs seamlessly with the existing finish, preserving the car’s value and its distinctive aesthetic.
Tools and Materials for Repair

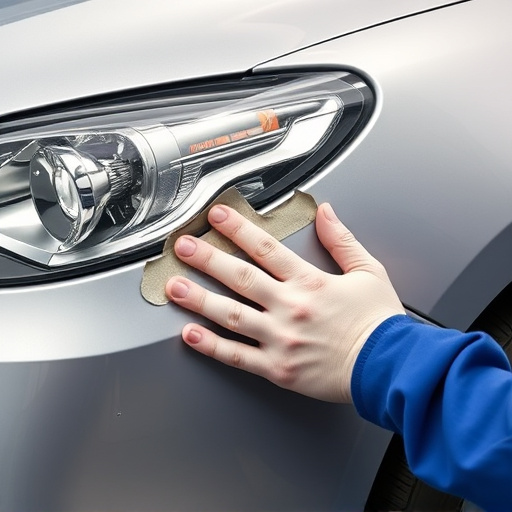
When undertaking Tesla multi-coat paint repair, the right tools and materials are essential for achieving a professional result. For minor scratches or dents, you’ll need a few key items such as a high-quality paint restoration kit designed specifically for multi-coat paints, sandpaper (ranging from fine to medium grit), and a detailer’s cloth. These tools allow for precise removal of damaged paint layers without affecting the surrounding intact surface.
Additionally, consider having some touch-up paint that closely matches your Tesla’s original color, along with an applicator tool for precise painting. It’s also wise to prepare for potential unforeseen issues by keeping a supply of tape and plastic sheeting on hand—especially if you’re dealing with a fender bender or minor car scratch repair. These measures ensure you’re prepared for any contingency during the Tesla multi-coat paint repair process, ultimately leading to effective tire services and a flawless finish.
Step-by-Step Guide to Effective Paint Repair

Repairing Tesla multi-coat paint without full repainting involves a meticulous process that can restore your vehicle’s aesthetic to near-original condition. Here’s a step-by-step guide for effective Tesla multi-coat paint repair, focusing on both efficiency and precision.
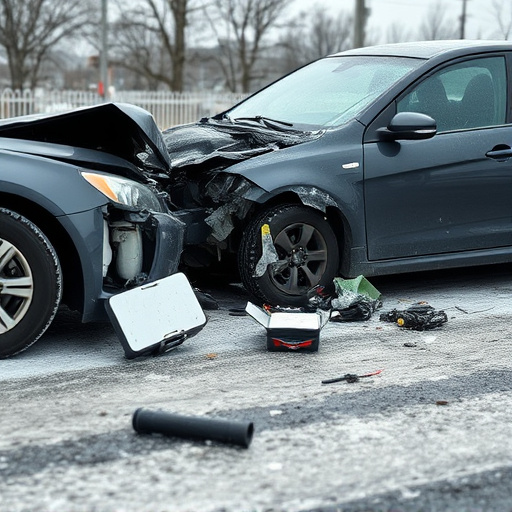
1. Assess the Damage: Begin by inspecting the damaged area thoroughly. Identify the extent of the chip, scratch, or dent. For minor fender repairs, this could be as simple as small chips or scratches on the surface layer. More significant car damage repair may involve deeper dents that affect the vehicle’s structural integrity.
2. Prepare the Surface: Once you’ve identified the issue, lightly sand the damaged area to remove any debris and roughen the surface slightly. This step is crucial for ensuring better paint adhesion during the repair process. Use a fine-grit sandpaper designed for automotive painting to avoid leaving scratches that could affect future finishes.
3. Clean Thoroughly: After sanding, clean the area with a degreaser to remove any oil, grease, or dust. Ensure the surface is free from contaminants as this can impact paint quality and longevity. A clean surface is essential for successful Tesla multi-coat paint repair.
4. Apply the Primer: Use a high-quality automotive primer designed specifically for multi-coat paints. Apply an even coat using a spray gun or airbrush, following the manufacturer’s instructions for drying time. Priming not only prepares the surface but also ensures better color match during the painting process.
5. Paint the Damage Area: With the primer dried, apply the matching multi-coat paint using a precision paintbrush or spray gun. Ensure you use the exact shade recommended for your Tesla model to maintain the vehicle’s overall aesthetic. This step requires patience and attention to detail to achieve a seamless finish.
Tesla’s multi-coat paint system offers a durable and protective finish, but minor scratches or dents can be repaired without a full repaint. By understanding the multi-coat structure and using the right tools and materials, you can effectively restore your Tesla’s paintwork, maintaining its original appearance and value. This step-by-step guide provides a practical approach to Tesla multi-coat paint repair, allowing owners to address cosmetic issues promptly and efficiently.